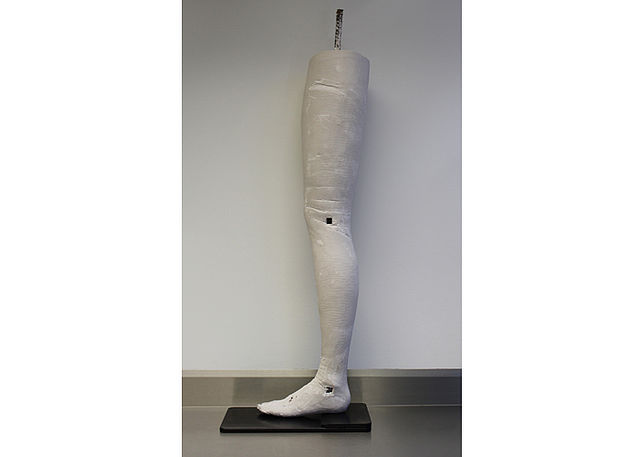
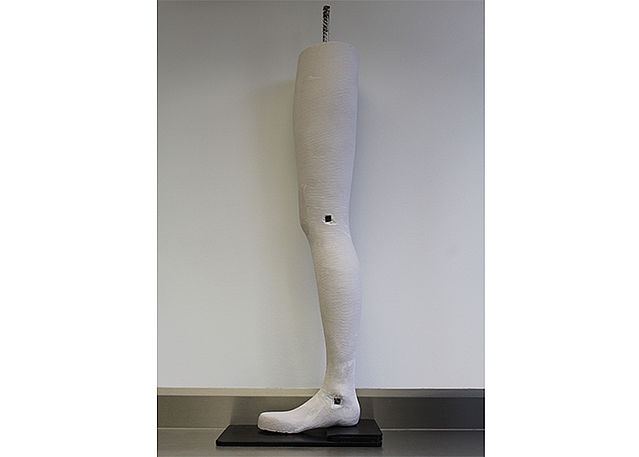
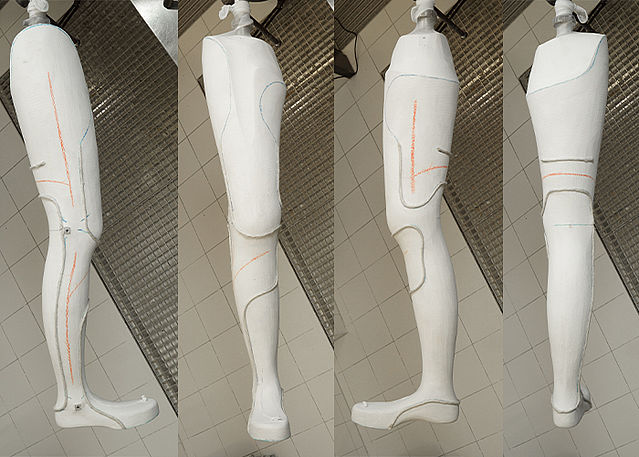
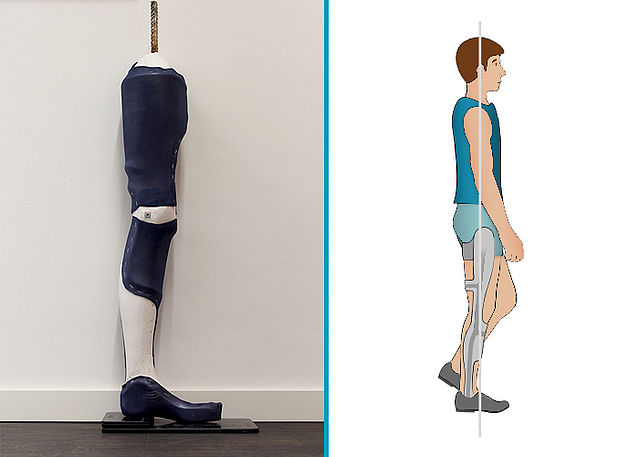
Modifying a KAFO Positive Cast
Once the positive cast has been made, it gets modified. Modifying the outline is the basis for an optimal fitting as well as a harmonious look of the resulting KAFO.
-
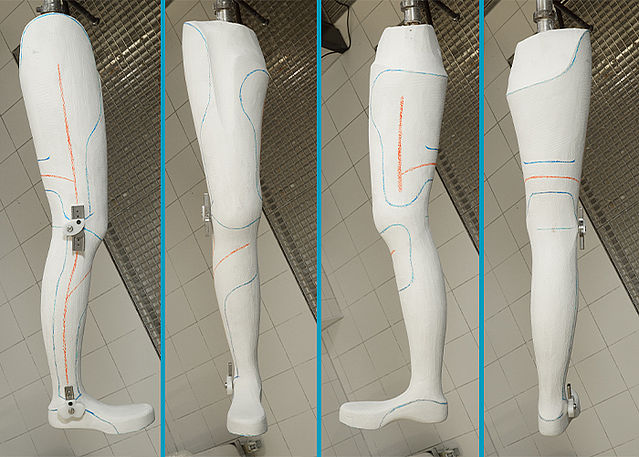
Producing the Work Basis
-
Fase 1/1
-
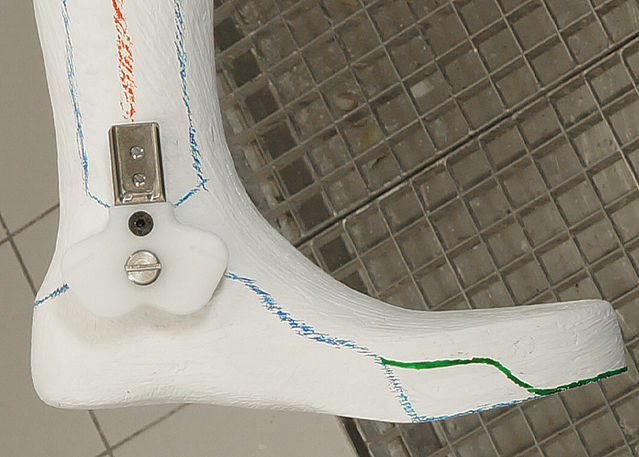
Reinforcing the Foot Piece
-
Fase 1/2
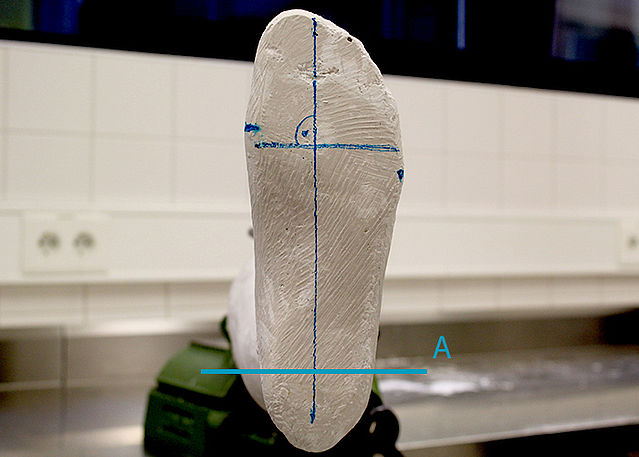
Fase 2/2


-
Determining the Toe Spring
-
Fase 1/4
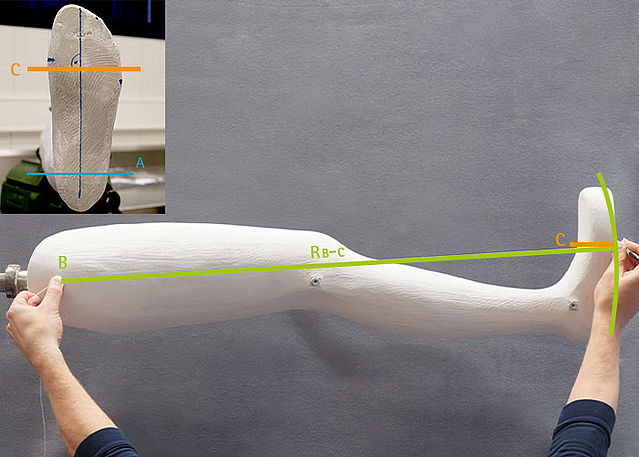
Fase 2/4

Fase 3/4

Fase 4/4


-
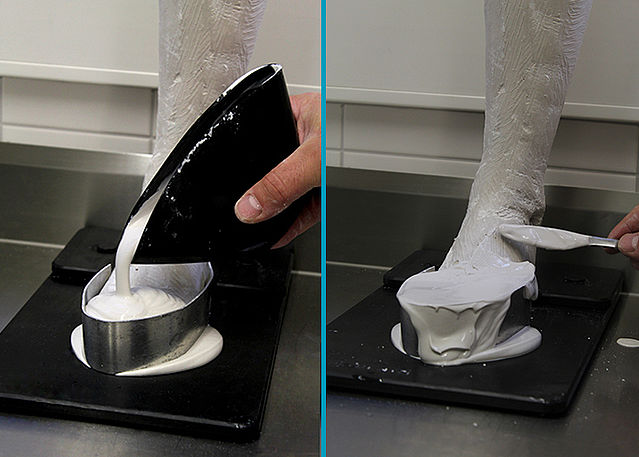
Preparing the Trial Shell
-
Fase 1/3
Fase 2/3
Fase 3/3


-
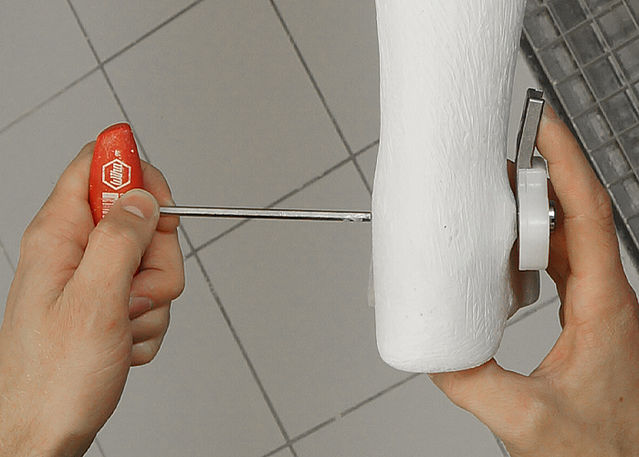
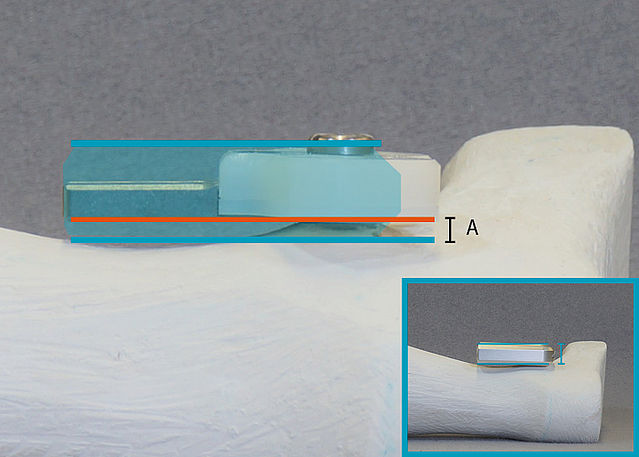
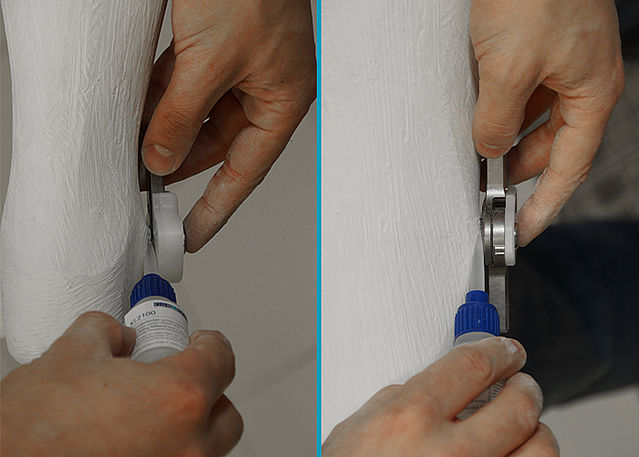
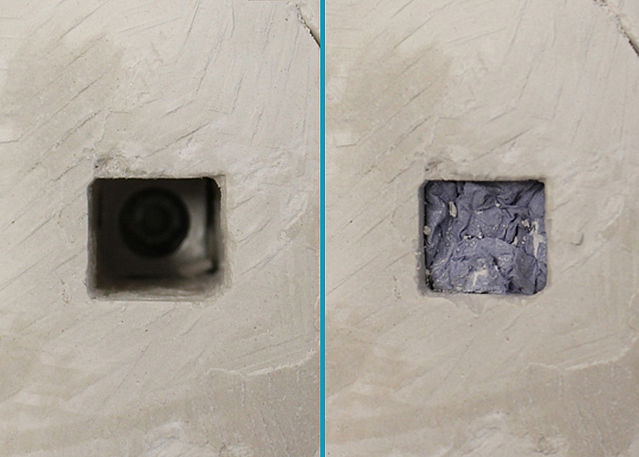
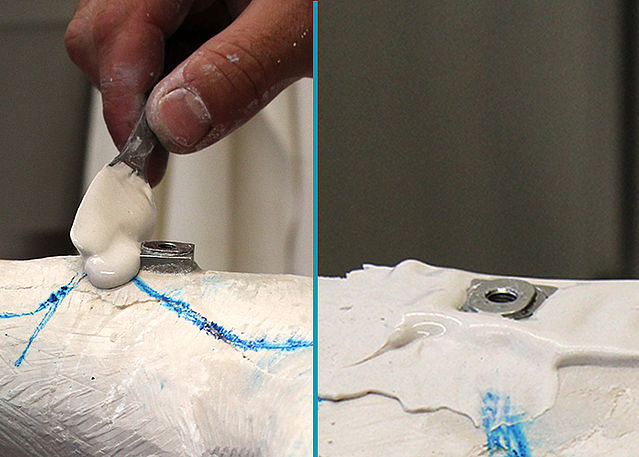
Mounting the Assembly/Lamination Dummies
-
Fase 1/6

Fase 2/6
Fase 3/6
Fase 4/6

Fase 5/6
Fase 6/6


-
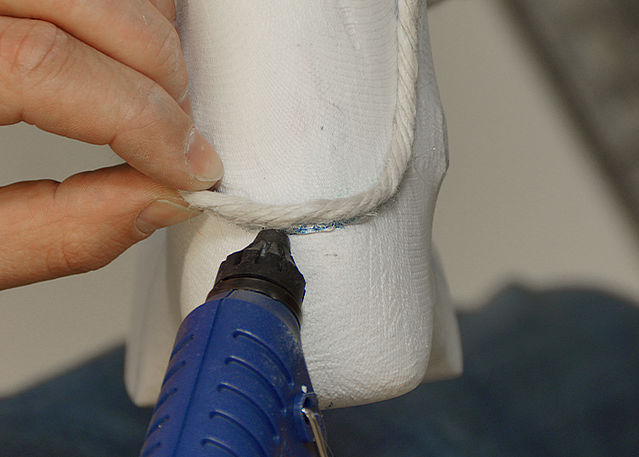
Designing the Orthosis’ Edges
-
Fase 1/5
Fase 2/5
Fase 3/5
Fase 4/5
Fase 5/5


-
Applying the Padding Material Dummy
-
Fase 1/3
Fase 2/3
Fase 3/3


-
Alignment of the Orthosis
-
Fase 1/1
Last Update: 7 September 2022