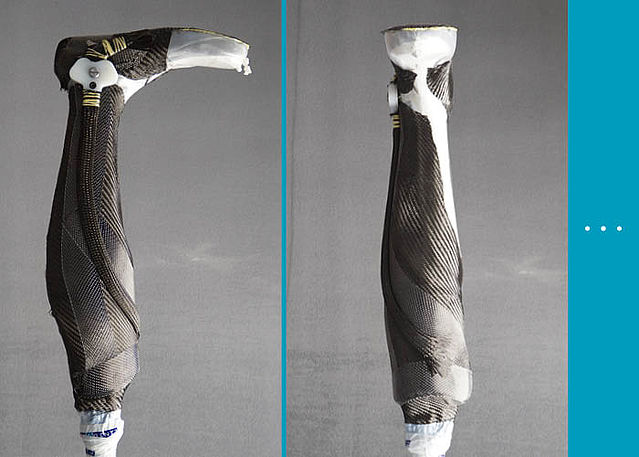
Partially Flexible Foot Piece
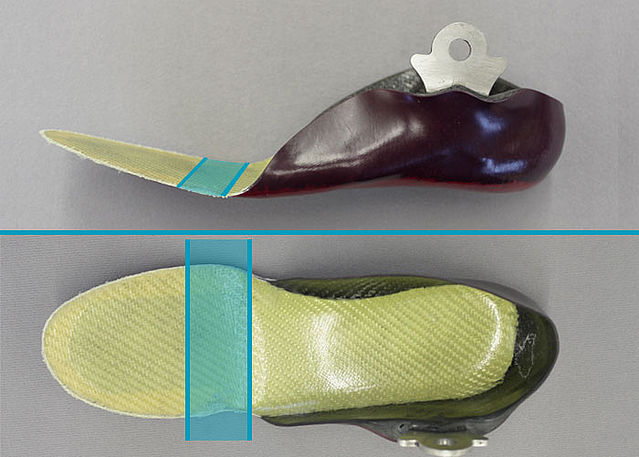
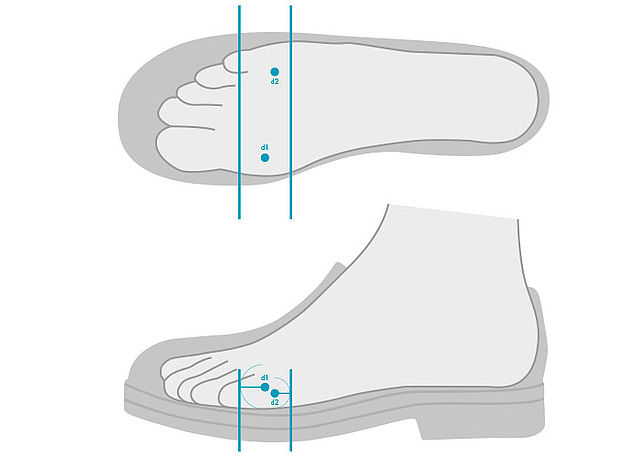
This online tutorial describes the production of a partially flexible foot piece. The partially flexible foot piece runs from the heel to the tiptoes. The area from the heel to the metatarsophalangeal joints is produced rigidly, meaning stiff. The area from the metatarsophalangeal joints to the tiptoes is produced flexibly.
Use the Orthosis Configurator to choose a foot piece. You will receive a recommendation for the production of a foot piece based on the patient data.
Click here to go to the online tutorial for producing a rigid foot piece.
-
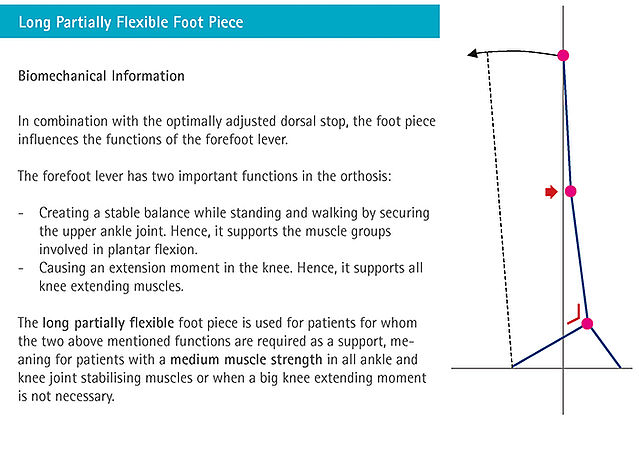
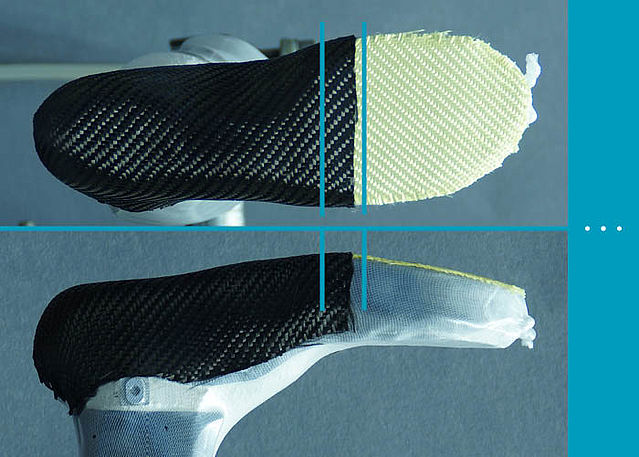
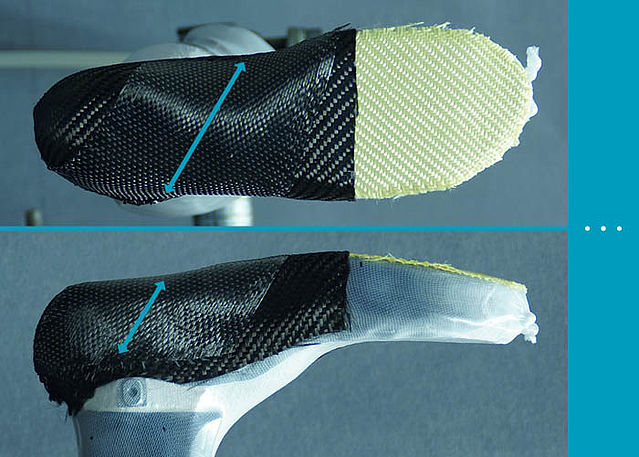
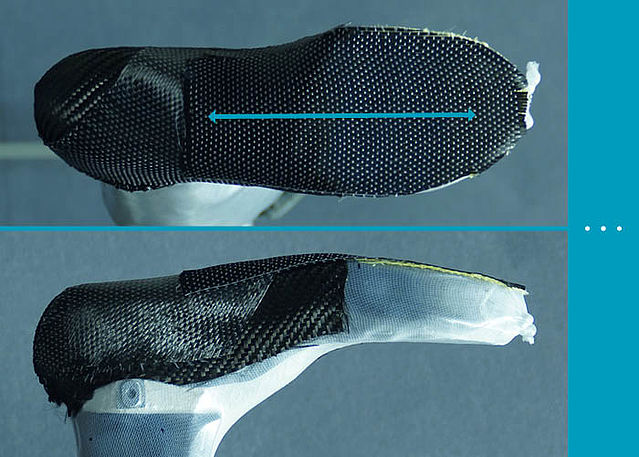
Biomechanical Basics
-
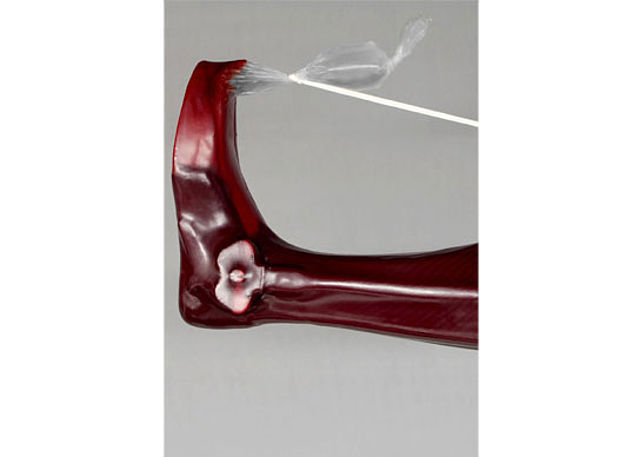
Fase 1/1
-
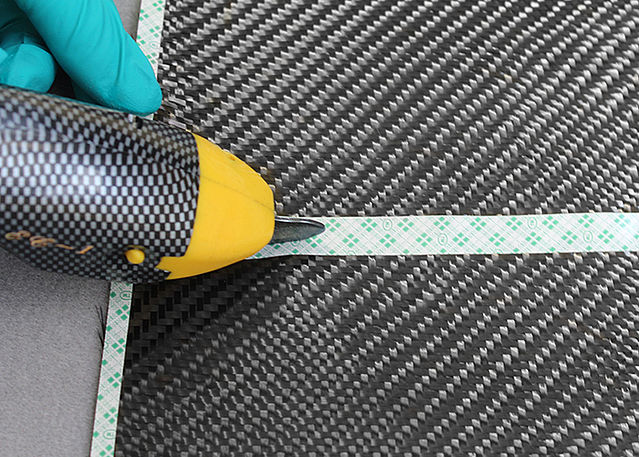
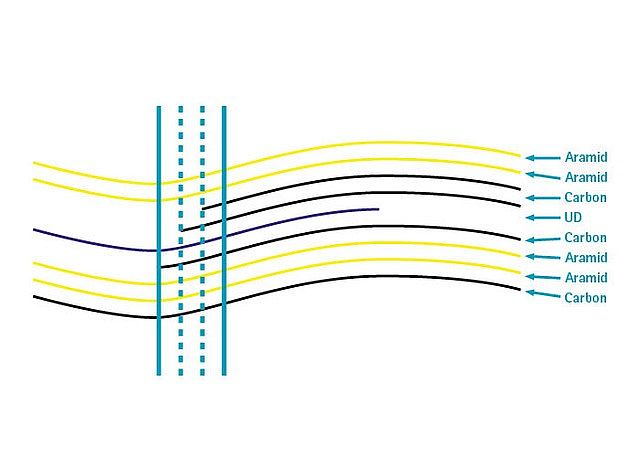
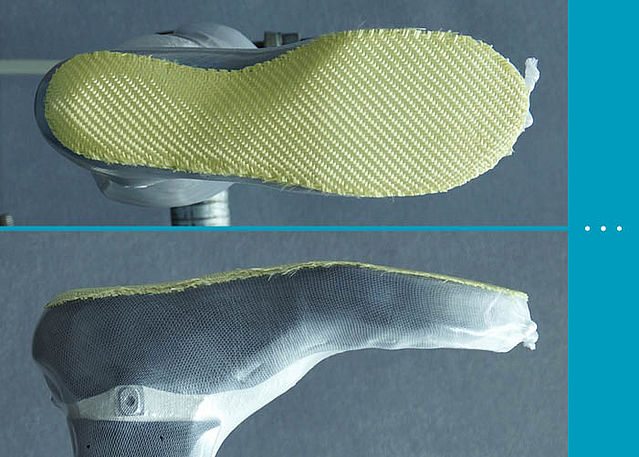
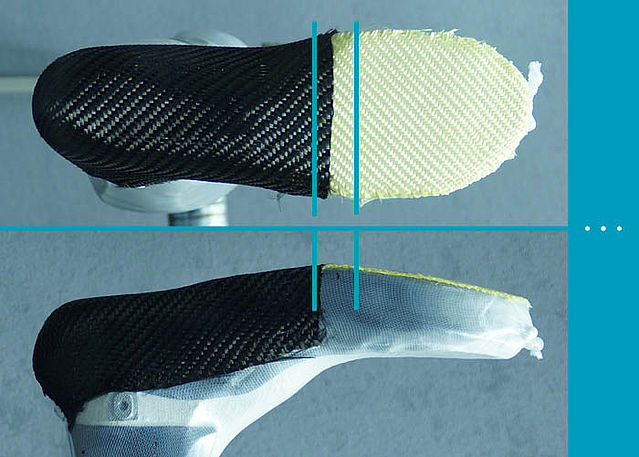
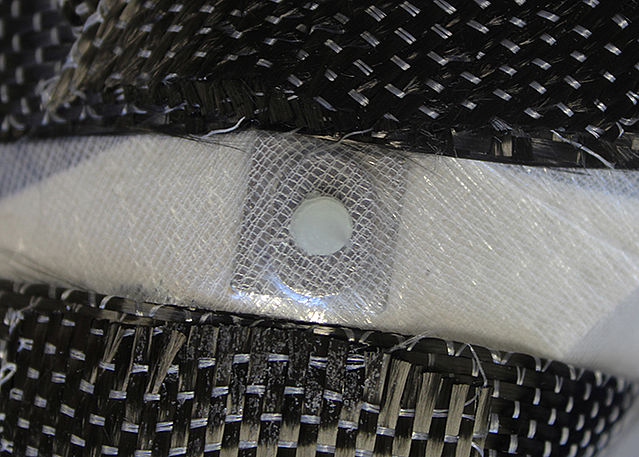
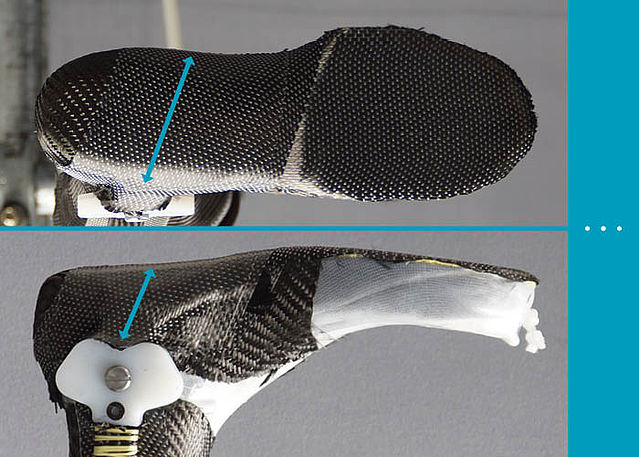
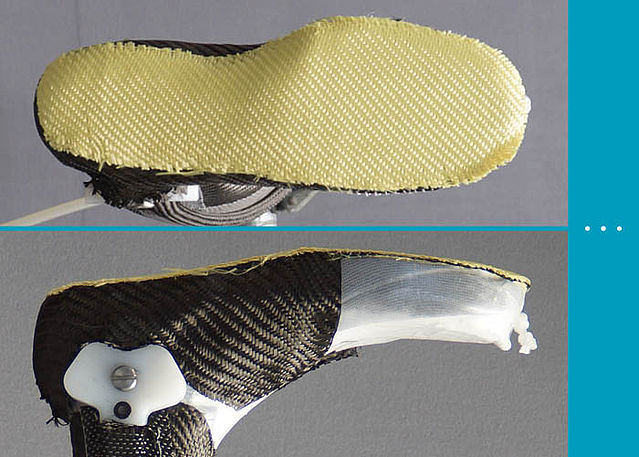
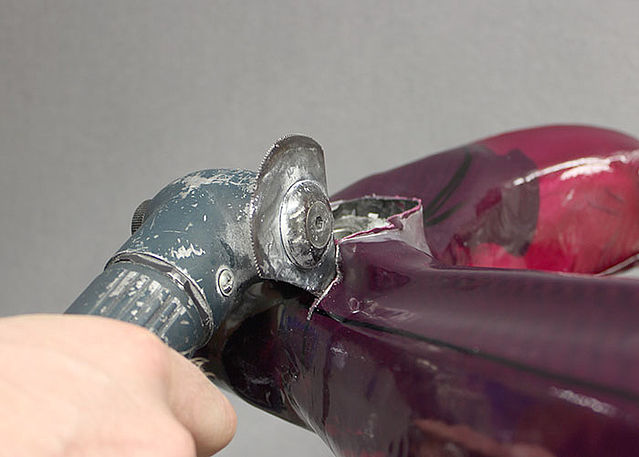
Reinforcing the Foot Piece
-
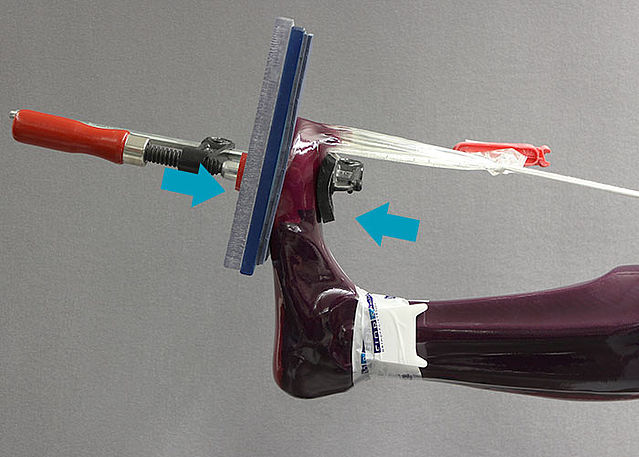
Fase 1/17
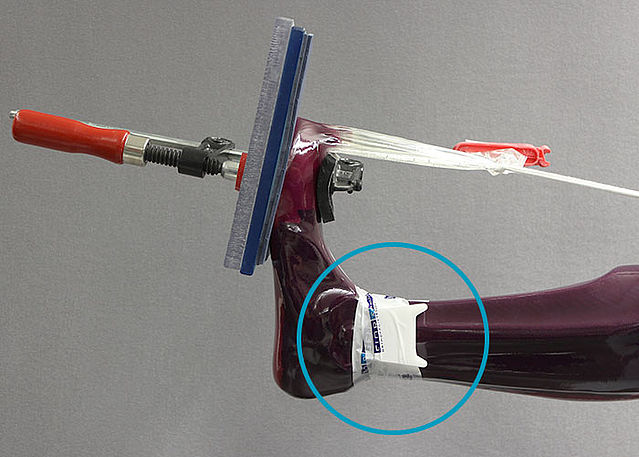
Fase 2/17
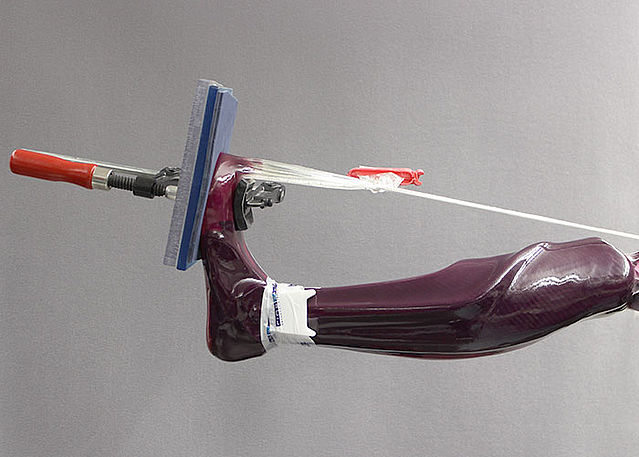
Fase 3/17
Fase 4/17
Fase 5/17
Fase 6/17
Fase 7/17
Fase 8/17
Fase 9/17
Fase 10/17
Fase 11/17
Fase 12/17
Fase 13/17
Fase 14/17

Fase 15/17
Fase 16/17

Fase 17/17


-
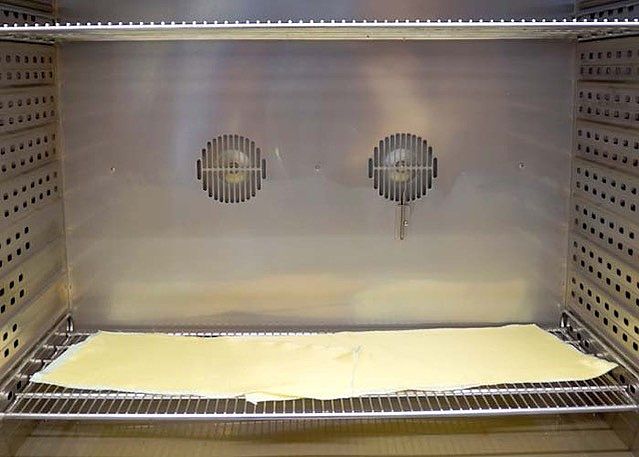
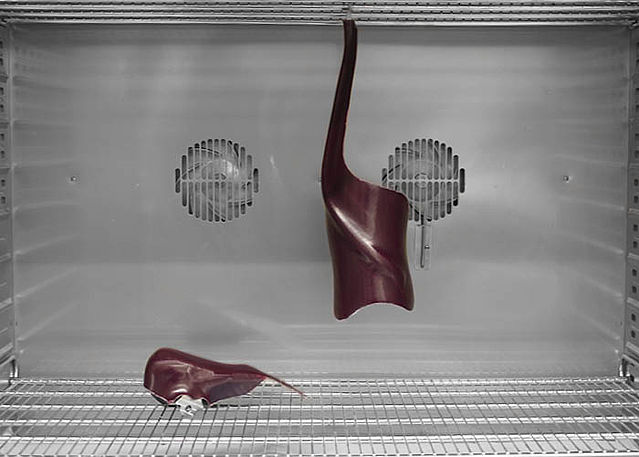
Laminating the Foot Piece
-
Fase 1/5
Fase 2/5
Fase 3/5
Fase 4/5
Fase 5/5


-
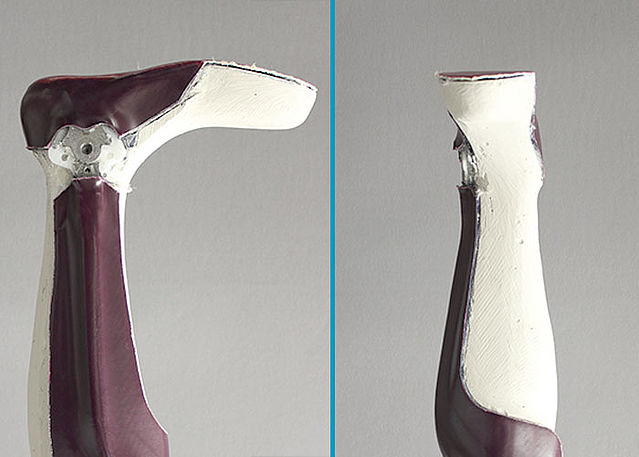
Cutting the Foot Piece
-
Fase 1/2
Fase 2/2


-
Tempering and Grinding the Foot Piece
-
Fase 1/3
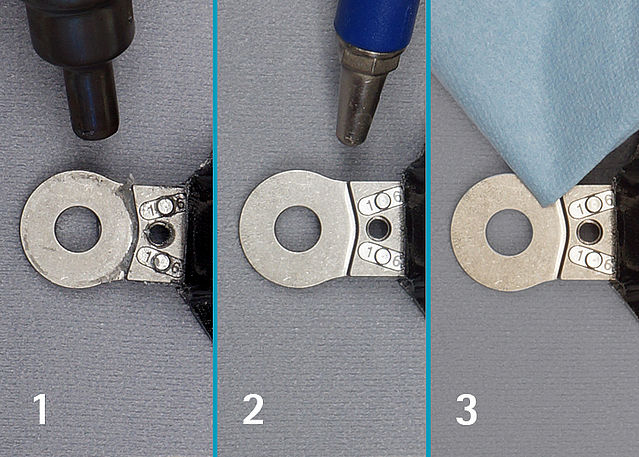
Fase 2/3
Fase 3/3


Last Update: 24 June 2020