Results Analysis including Documentation
After having produced the final orthosis, the orthotist will hand it over to the patient. Together with the patient the orthotist checks if the orthosis' alignment, function and comfort are ensured. If necessary, it will be adapted and adjusted.
The Protocol for Checking the Orthosis Function serves as guideline and documentation. Print the protocol and use it for the fitting of the orthosis. This way, you will be able to compare the state after fitting to changes in the future.
-
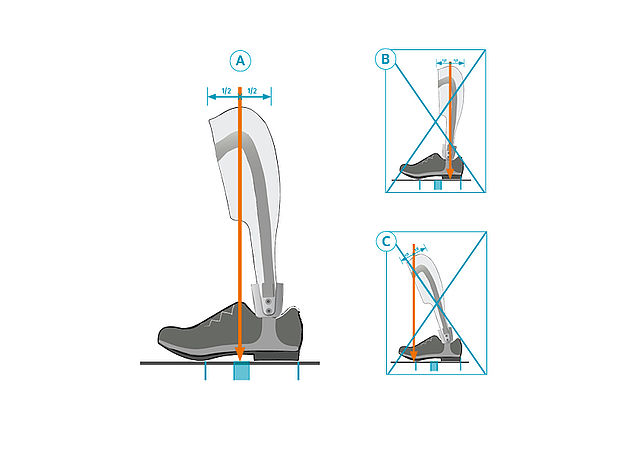
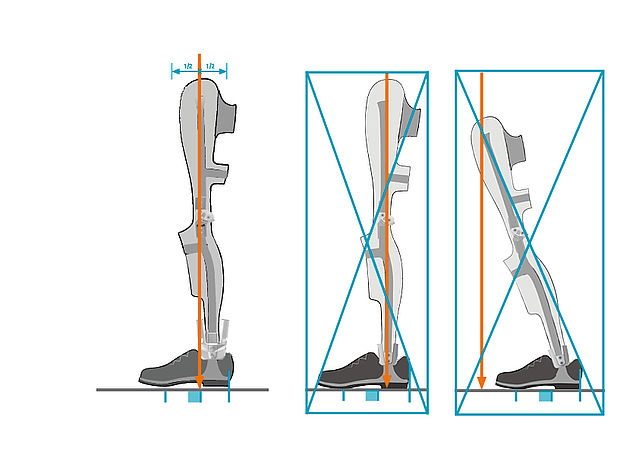
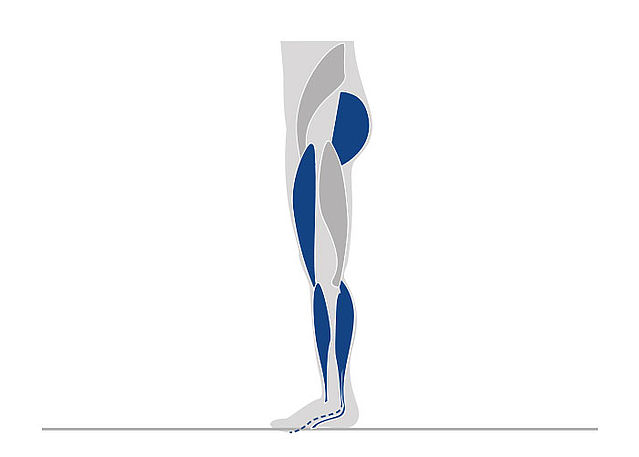
Checking the Alignment on the Workbench
-
Fase 1/6
Fase 2/6
Fase 3/6
Fase 4/6
Fase 5/6
Fase 6/6


-
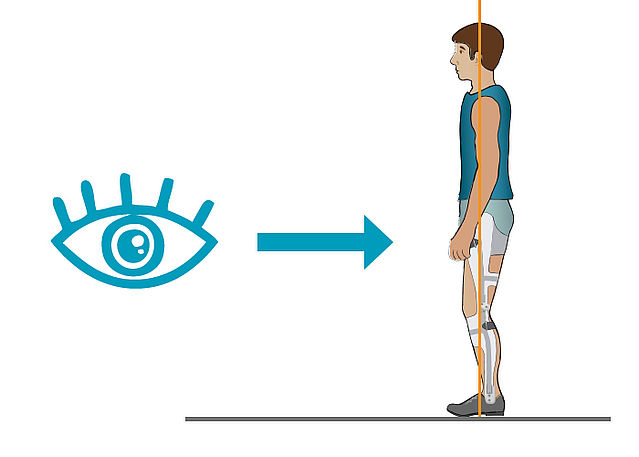
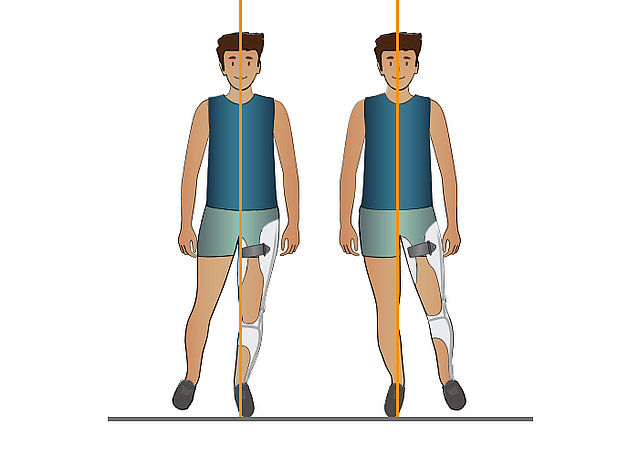
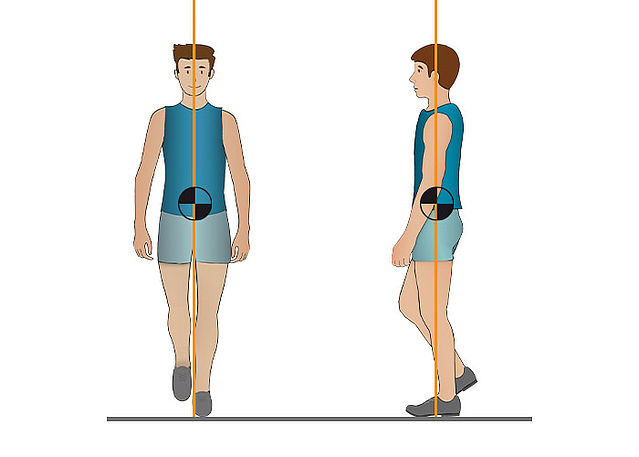
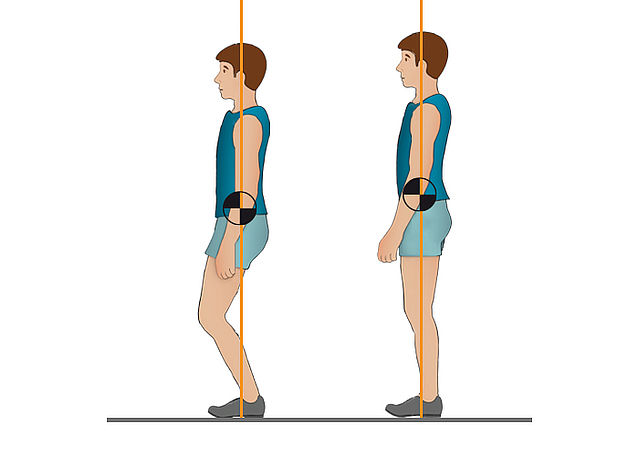
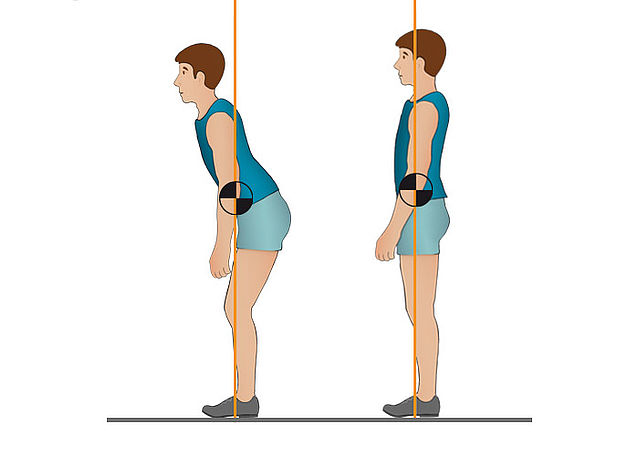
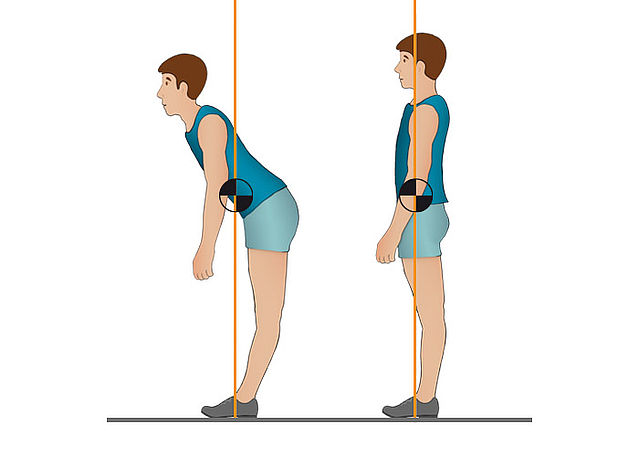
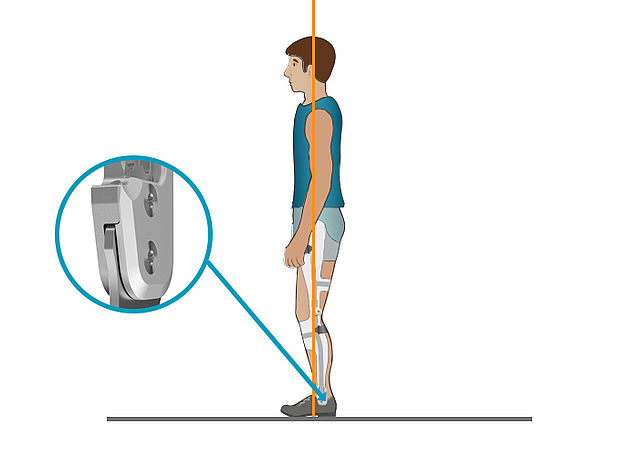
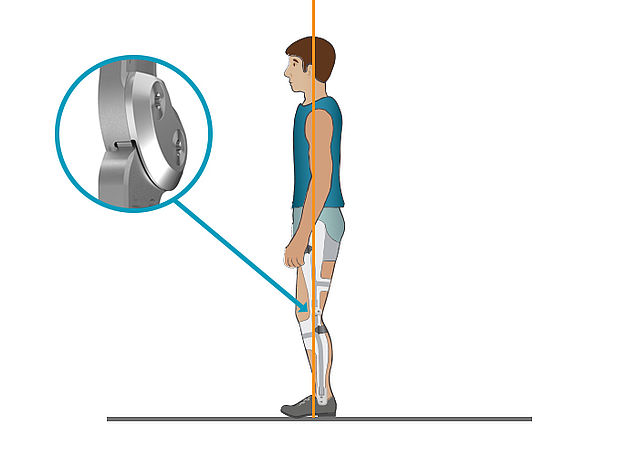
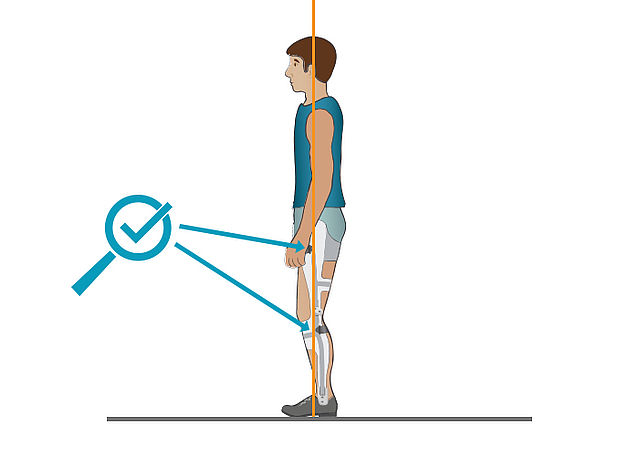
Checking the Alignment on the Patient: Static
-
Fase 1/13
Fase 2/13
Fase 3/13
Fase 4/13
Fase 5/13

Fase 6/13
Fase 7/13
Fase 8/13
Fase 9/13
Fase 10/13
Fase 11/13
Fase 12/13
Fase 13/13


-
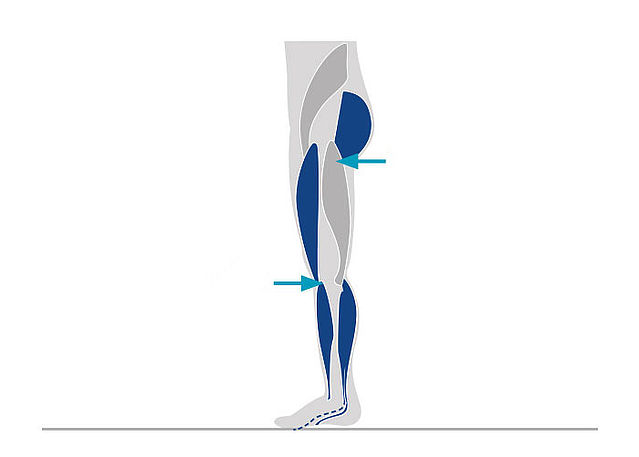
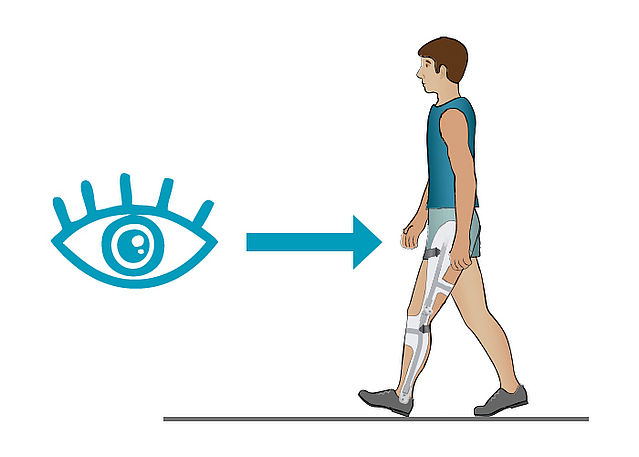
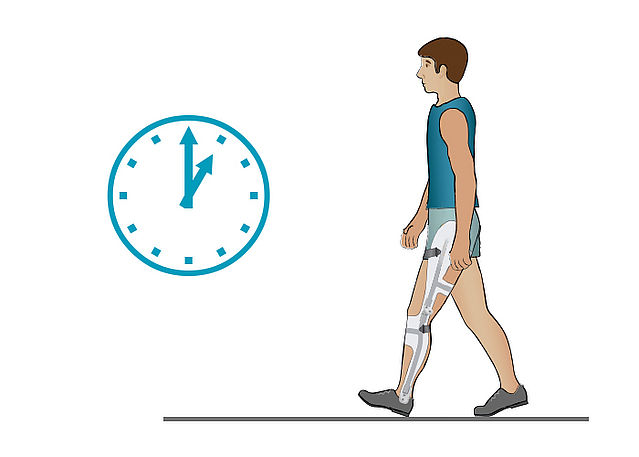
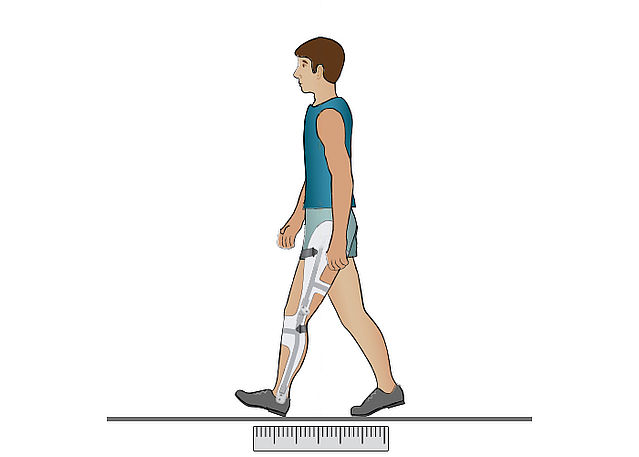
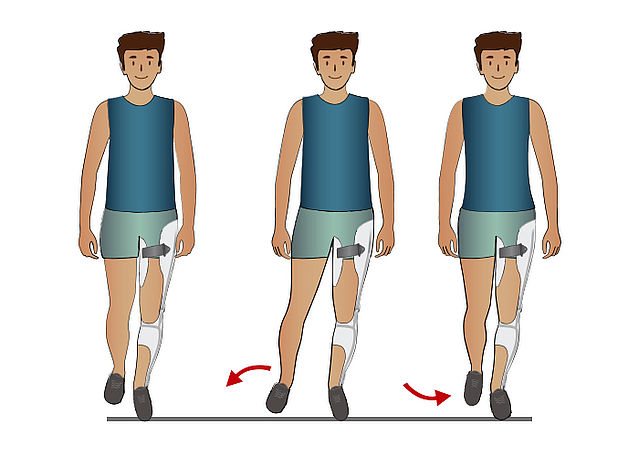
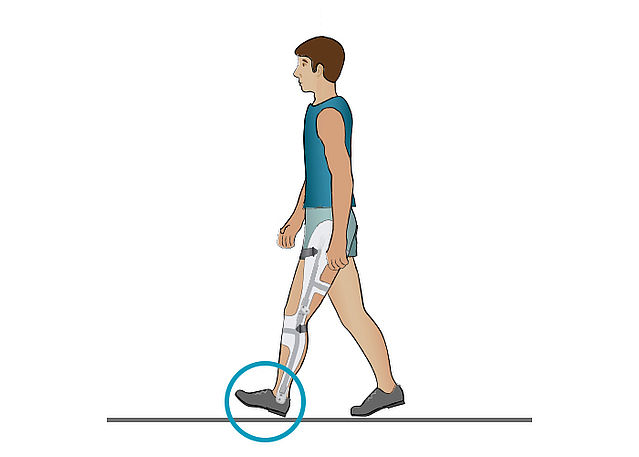
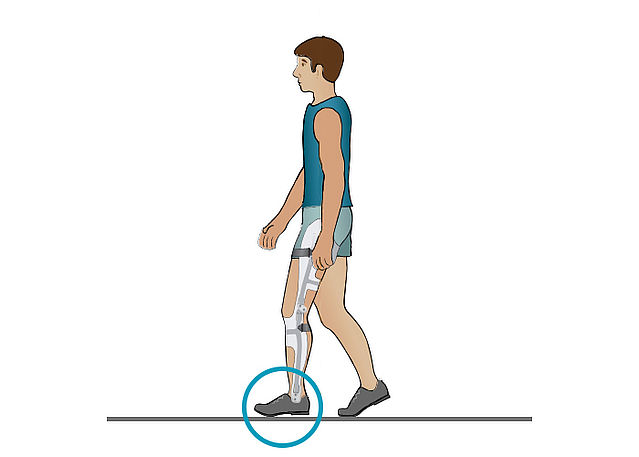
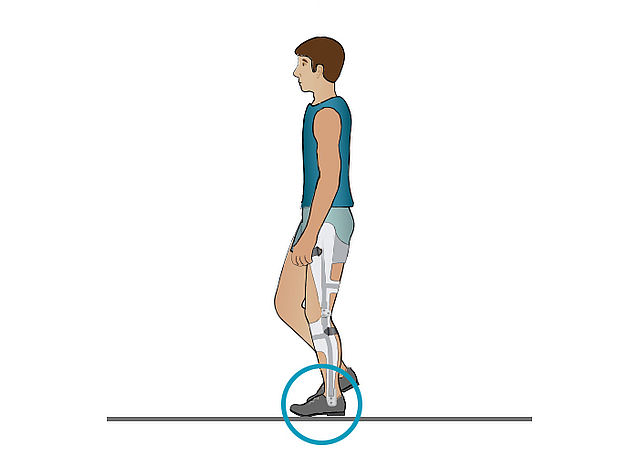
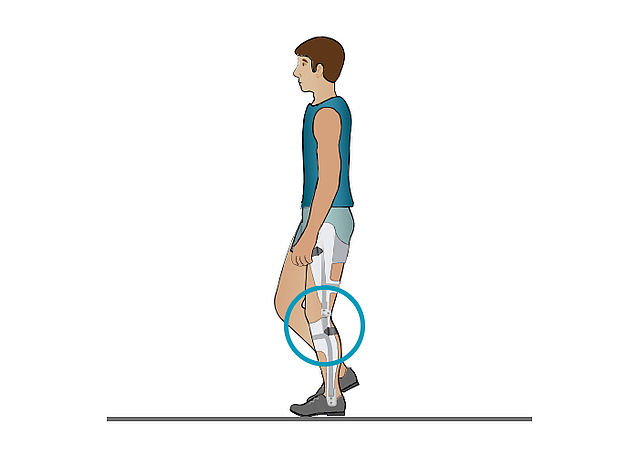
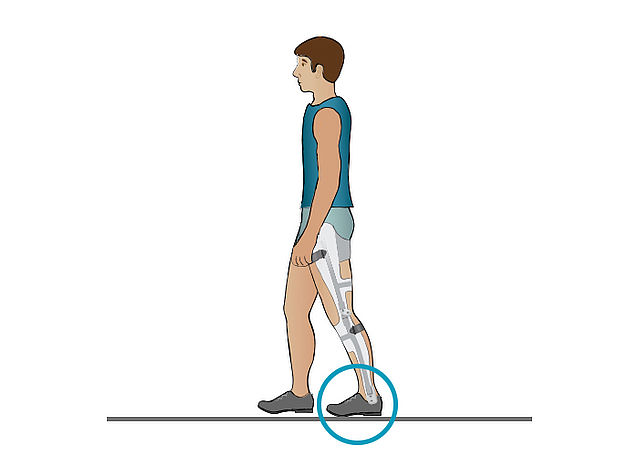
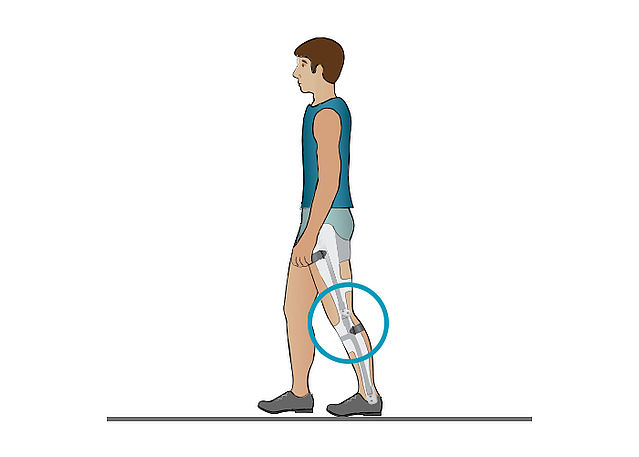
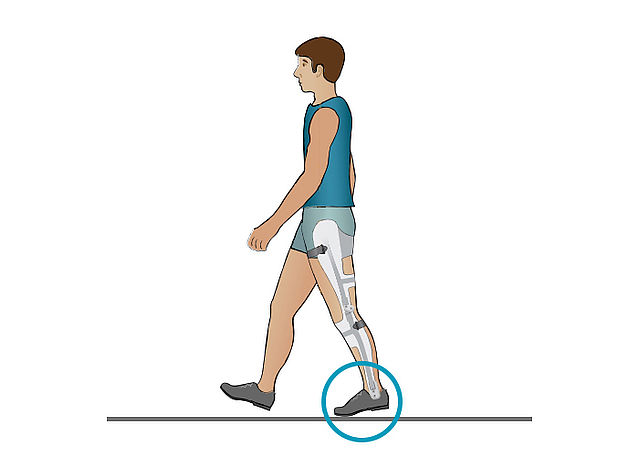
Checking the Alignment on the Patient: Dynamic
-
Fase 1/12
Fase 2/12
Fase 3/12
Fase 4/12
Fase 5/12
Fase 6/12
Fase 7/12
Fase 8/12
Fase 9/12
Fase 10/12
Fase 11/12
Fase 12/12


Last Update: 5 October 2022